Configuration
Creating a new warehouse
In order to be able to create a new warehouse, you must allow the system to manage multiple locations. In the Inventory module, open the menu Settings ‣ Configuration. In the Location & Warehouse section, tick the Manage several locations per warehouse box, then click on apply.

Open the menu Configuration ‣ Warehouse Management ‣ Warehouses
In the warehouses screen, click on Create. A new screen appears, with 3 fields :
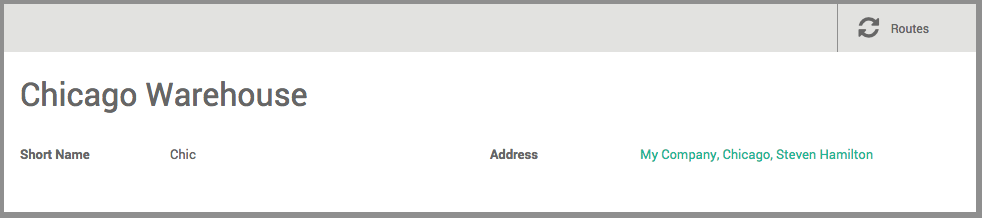
- In Warehouse Name, insert the full name of the warehouse.
- In the Short Name field, insert a 5-characters code for your warehouse. Keep in mind that this code is the one that will appear in the lists, so make sure you choose a name that is easy to understand and easy to enter.
- In the Address field, you can select an existing company or create one on-the-go. Therefore, the address of your warehouse will be the same as the one of the company you selected. You can also leave this field empty and edit it afterwards.
Click on Save to finish configuring your new warehouse.
Note
When you create a warehouse, the system will create the necessary picking types and main child locations for this main location in the background.